Tag: Field Methods

An Update on Taking Toepad Pictures

0C7FAAF7-83FB-46AE-9B5E-D0F68041B2EA

I’ve taken more than four hundred toepad pictures using the new macro photography technique I introduced  in an earlier post and I’ve learned a few tricks that I want to share in this update.

First and foremost, I highly recommend this approach. For those of you looking to capture a lot of toepad data, particularly in the field, this kit is way faster and more portable than using a flatbed scanner and the images I’m getting are at least as sharp.

forefoot

A few tips:

  • Petri dishes work great as a clear platform to place the lizard feet on. I found that the 60 mm diameter dishes were much easier to balance atop the lens (~40 mm in diameter) than the larger dishes I’d originally shown.
  • I cut and taped a scale bar to one edge of the petri dish so I wouldn’t have to worry about juggling a lizard and a tape measure.
  • Make sure you have several petri dishes – they scratch fast – and keep some ethanol and a kimwipe close at hand.

IMG_6314

  • The app that lets you remotely trigger your iPhone is absolutely maddening. Do not download it. I’m not even going to relink the name. Instead, I suggest a much more stable alternative: connect your phone to your computer with the USB cable, open QuickTime Player, select File > New Movie Recording and click the down arrow next to the record button. This will give you the option to select your attached iPhone as a recording device. This live-view is far more stable and less frustrating. *Windows and android users I’m afraid I haven’t had an opportunity to sort out a solution for those platforms. If you know of something that works, please include in the comments!

Screen Shot 2017-08-21 at 3.47.58 PM

Unfortunately, through the live view all you can see is whether the lizard is in position. You cannot remotely trigger the shutter this way. That means you’ll need a second pair of hands to help. I found it worked best when my partner was in charge of putting the ID tag in the frame after I’d placed the lizard foot and then pushing the volume button on the side of the phone to trigger the camera shutter.

  • Lighting is really important. I suggested a headlamp in the previous post providing an oblique light source through the diffuser around the lens. I tried using a microscope fiber optic light source but I was really unhappy with the “warmth” of the light. I found that the white-LEDs in my headlamp produced a much more realistic looking image (see above). Also, make sure you don’t have any light sources above/behind the subject. Backlighting confuses the camera’s auto-contrasting and results in dark and sometimes unfocused images.

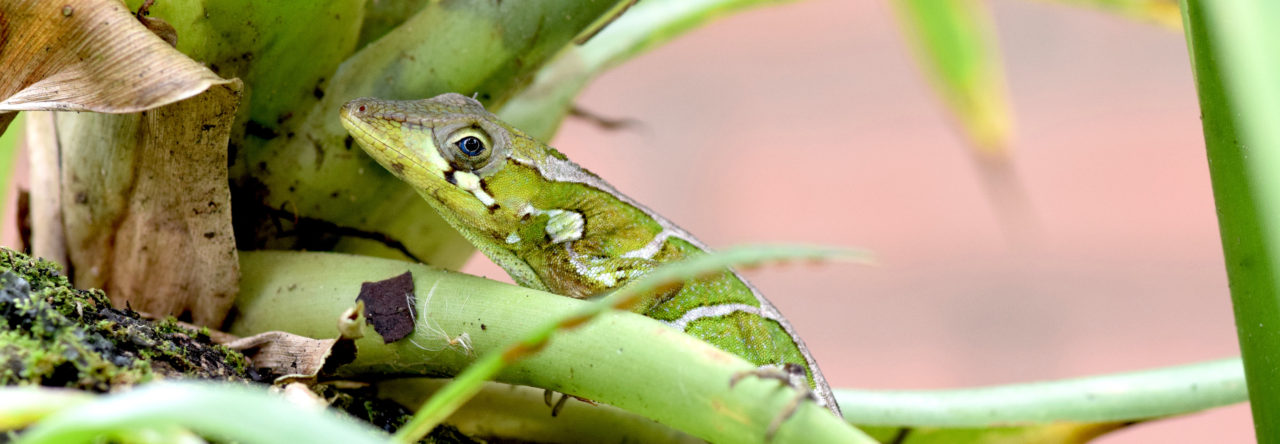
red dewlap

A New Method for Taking Toepad Pictures in the Field

IMG_5619

Getting good pictures of lizard toepads in the field can be tricky. Flatbed scanners are heavy and don’t take well to transit bumps and bruises, and getting a digital camera to focus on the toe, not the glass, requires surgical precision on the manual focus ring. I’ve just found a new solution for an iPhone (or GooglePixel, if that’s how you roll), and I’m eager to share.

Here’s what you need:IMG_0442.JPG

An iPhone 6 or 7 series or a GooglePixel, the Moment Lens mounting case ($29.99) with the Moment Macro Lens ($89.99), a clear surface, a scale bar, your headlamp, and a laptop.

Here’s the setup in action (and, by the way, this particular lizard’s bite force was classified as medium-ouch): IMG_0447.JPG

You’ll notice that when the camera is facing up the iPhone screen is facing down. Obviously this makes it difficult to snap the photo—enter the app WiFiCam. This app enables you to type the phone’s IP address into your web browser and remotely trigger the camera, as long as both devices are on the same wifi. It’s very simple, and the price was right (free!).

And so here’s the whole shebang:

IMG_0452.JPG 2

(Don’t forget to keep a tissue handy for wiping up lizard poop!)

And not to bury the lede, but the results are fantastic (see above).

A few things to note:

  • The white plastic platform around the lens ensures perfect focal distance so getting your lizard as close to that plane as possible is ideal. I tried a square of single pane glass but wasn’t tremendously pleased with the results. The above is taken with a cheap plastic petri dish, which works great but scratches quickly. Another option I’m going to look into is a glass microscope slide. (The biggest drawback to the slide is that it’s smaller than the camera lens platform… meaning that the lizard can actually poop ON YOUR PHONE. And believe me, they will.)
  • The app works fine for controlling the shutter, but it’d be nice to be able to also control other camera settings like focus point and brightness or contrast. There might be other apps out there that do all of that; I just haven’t tried to find them yet. If you’re taking photos of lizard toepads in a place without wifi (as you most likely are), you can use your computer to create a local network and pair the camera to the computer that way.
  • I found that the sidelight was really helpful to get good illumination on the toes. Without the sidelight the camera sometimes adjusts for ambient light behind the foot, making the lamellae hard to see. My headlamp was the perfect size and brightness and worked great.

One last thought: Moment also has a fisheye lens that might do a really nice job of canopy cover photos in the field. That’s on my short list of things to experiment with in the near future!

I’d love to hear your thoughts on how to improve the system in the comments.

Powered by WordPress & Theme by Anders Norén